Mailchimp Workflow Automation For Consultants: Complete Guide To Automated Email Funnels (2026)
Most consultants lose leads not because their service is weak, but because their follow-up is. A prospect downloads your free guide, reads it, and then… nothing. No email the next morning. No follow-up three days later. They forget you exist. But, Mailchimp workflow automation fixes this.
When built correctly, Mailchimp workflow automation turns a one-time touchpoint into a structured, multi-step journey that educates, builds trust, and drives bookings—without you lifting a finger after the initial setup.
According to research, email marketing delivers an average ROI of $36 for every $1 spent. Therefore, building strong automated email funnels is one of the smartest growth strategies for consultants in 2026.
This guide goes beyond the basics. You will learn exactly how to build high-converting automated email funnels inside Mailchimp, which workflow types work best for consultants, what to write at each stage, and the specific settings and strategies that separate professional setups from amateur ones.
What Is Mailchimp Workflow Automation?
Mailchimp workflow automation is a rule-based email system. Instead of sending emails manually or scheduling broadcasts to your entire list, automation sends specific emails to specific people at specific times—triggered by their behavior.
Now, let’s come to why Mailchimp workflow automation is different from regular emails.
Well, the key difference is relevance. A broadcast email goes to everyone. An automated email is sent to a recipient based on their actions: signing up, clicking a link, visiting a page, or being inactive for 30 days.
Inside Mailchimp, this is managed through the Customer Journey Builder—a visual canvas where you map out triggers, wait periods, conditional branches, and email actions. Think of it as a flowchart your contacts move through automatically.
For consultants specifically, this matters because:
- Your sales cycle is relationship-driven. People don’t book a $5,000 consulting engagement from a cold email. In order to act, they require exposure, trust, and multiple touchpoints before they decide to act.
- Your time is billable. Every hour spent manually following up with leads is an hour not spent serving clients.
- Your leads have different intentions. Individuals who downloaded a guide require different messaging than those who watched your webinar or left your booking page before completing it.
Mailchimp workflow automation allows you to handle all these scenarios simultaneously, at scale.
The 4 Automated Email Funnels Every Consultant Needs
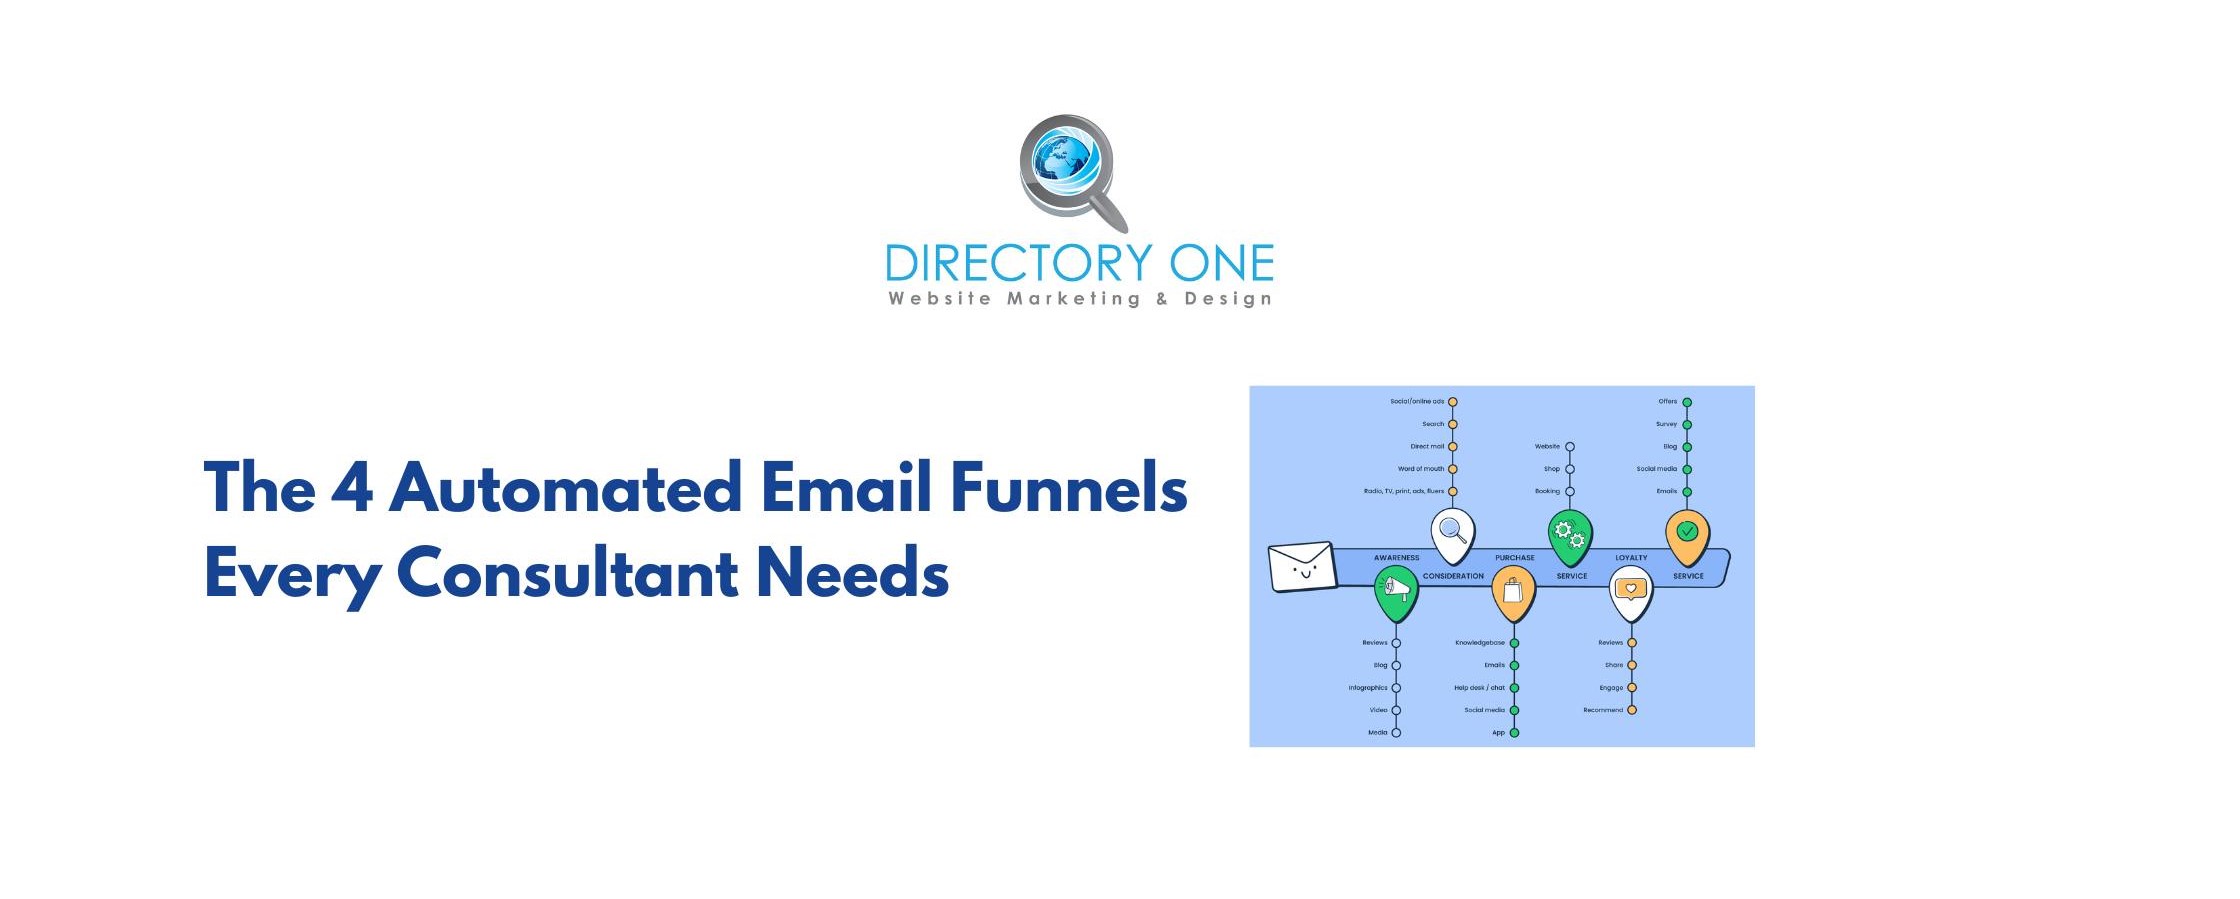
Not all email automation funnels serve the same purpose. Here are the four core funnel types for consultants, what each one does, and when to deploy them.
1. Lead Nurture Funnel
Purpose: Convert cold leads into warm prospects before you ever pitch.
This funnel activates when someone joins your list through a lead magnet, content upgrade, or opt-in form. They’re interested, but not ready to buy. Your job is to educate them, demonstrate expertise, and stay top of mind.
Typical length: 5–7 emails over 10–14 days
What it contains:
- A value-first welcome that delivers on whatever you promised
- Educational content that addresses a core problem your prospects face
- A “behind the scenes” or case study email showing real results
- A soft introduction to how you work with clients
- A clear, low-pressure CTA to book a discovery call
Common mistake: Consultants often skip straight to the pitch by email 2 or 3. This kills conversions. Leads need to feel understood before they feel sold to.
2. Consultation Booking Funnel
Purpose: Convert warm leads who have already shown high intent into booked calls.
This funnel is triggered by specific behavioral signals: someone who clicked your “Work With Me” page, filled out a partial inquiry form, or engaged heavily with your nurture sequence. These people are close—they just need a final nudge.
Typical length: 3–4 emails over 5–7 days
What it contains:
- An opening email that acknowledges where they are and what’s holding them back
- A social proof email: testimonials, specific outcomes, case study snippets
- An urgency email: limited availability, closing a cohort, upcoming price change (only use real urgency)
- A final “last chance” email with a direct booking link
Key Mailchimp setting: Use a goal step inside the Customer Journey Builder that ends the sequence the moment someone books. This prevents you from sending a “last chance” email to someone who already signed up.
3. Client Onboarding Funnel
Purpose: Set new clients up for success, reduce early churn, and generate referrals.
This is the most neglected automation in consulting businesses. Most consultants onboard clients manually, which creates inconsistency. A structured onboarding sequence sets professional expectations from day one.
Typical length: 4–6 emails over the first 2–3 weeks of the engagement
What it contains:
- A congratulations/welcome email with what to expect next
- A pre-work or intake email with relevant forms, questionnaires, or prep materials
- A “meet the process” email explaining how your engagement works
- Mid-onboarding check-in to answer common early questions
- An introduction to your community, resources, or support channels
Bonus: Include a referral task at the 2-week mark. New clients are most enthusiastic early. This is your highest-converting window for word-of-mouth referrals.
4. Re-engagement Funnel
Purpose: Win back inactive subscribers before they go cold forever.
If a contact hasn’t opened an email in 60–90 days, they’re drifting. A re-engagement sequence is a deliberate attempt to pull them back—or cleanly remove them if they’re truly uninterested.
Typical length: 3 emails over 7–10 days
What it contains:
- An honest, direct subject line: “Still relevant to you?” or “I noticed we haven’t connected.”
- A value-add email offering something new: a fresh resource, insight, or invitation.
- A final “stay or go” email asking them to click if they want to stay subscribed, with the clear implication that non-clickers will be removed.
Why this matters for deliverability: Inactive subscribers hurt your sender reputation. Cleaning your list regularly—through re-engagement or removal—keeps open rates high and ensures your active emails land in inboxes, not spam.
How To Set Up a Drip Campaign in Mailchimp: Step-by-Step
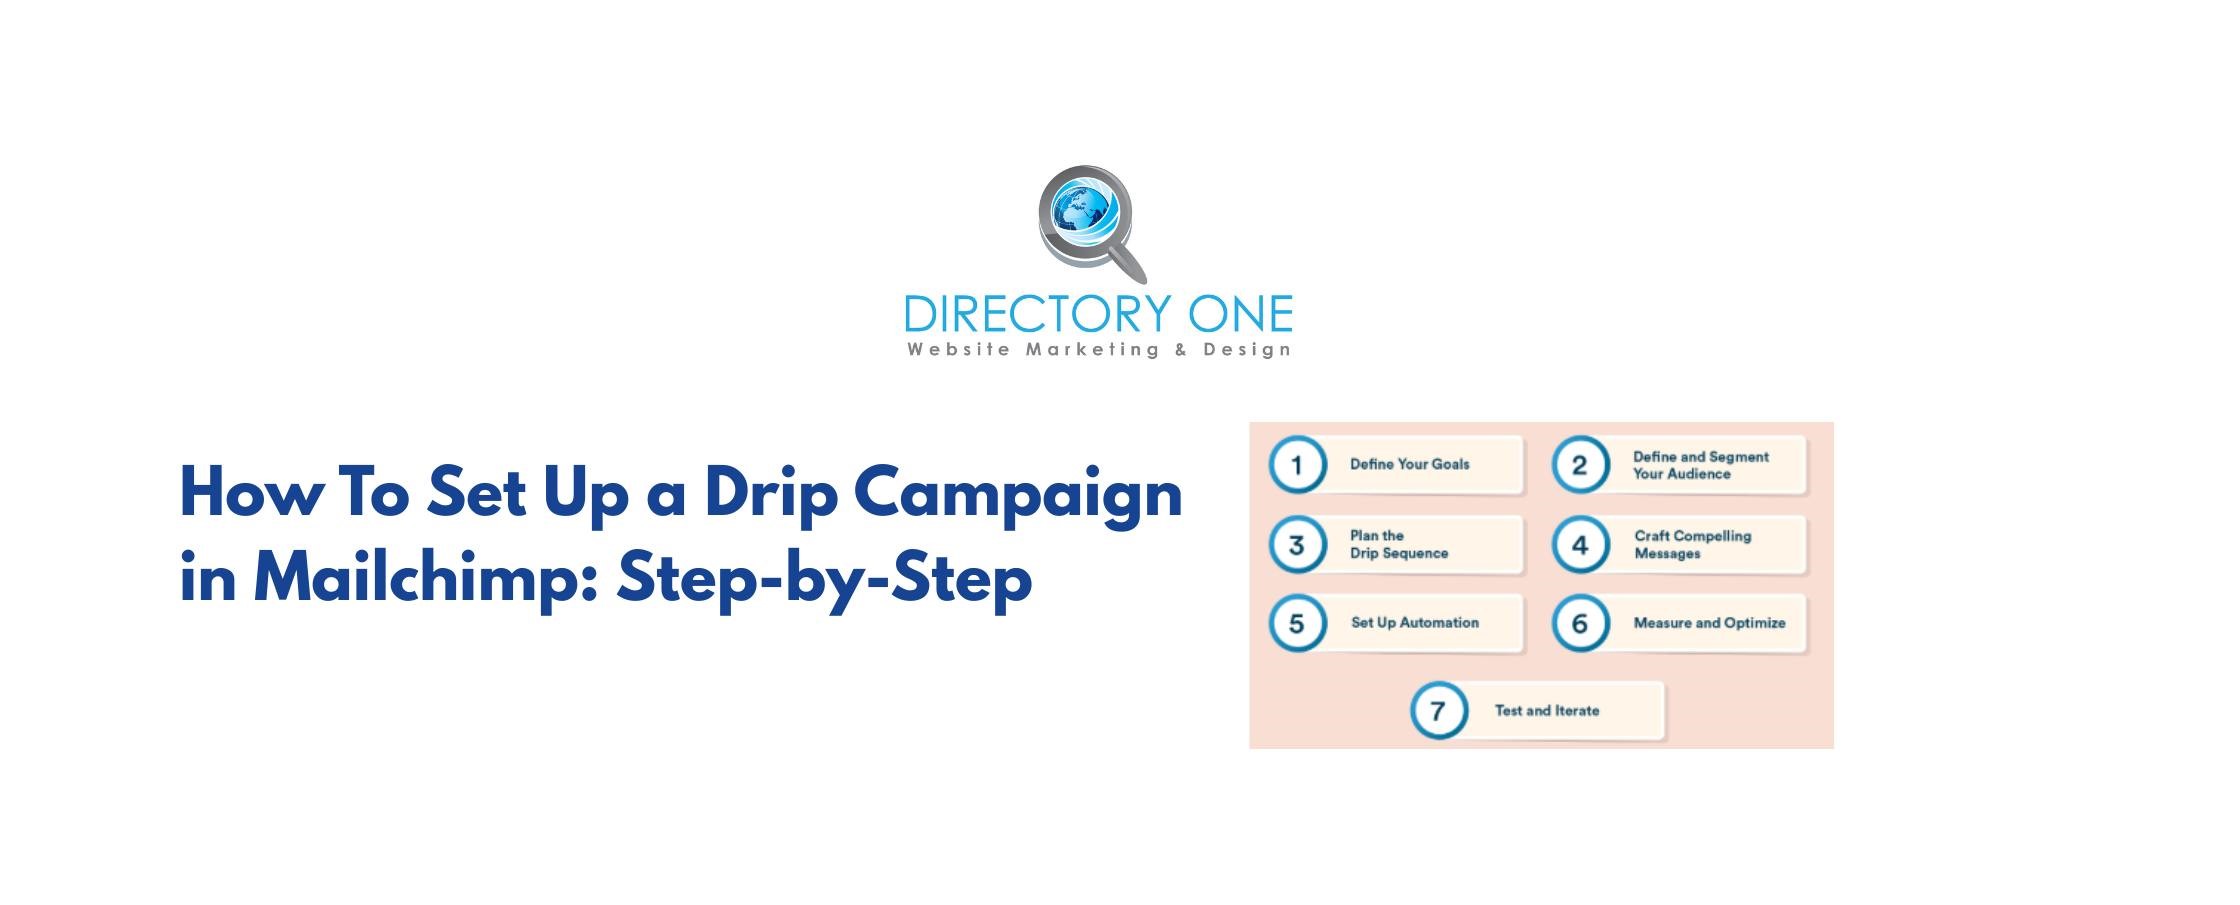
Here’s exactly how to set up a functional, professional Mailchimp automation workflow from scratch.
Step 1: Define Your Audience and Segments
Before building anything, clarify who these Mailchimp email automation workflows? are for. Inside Mailchimp:
- Navigate to Audience ? Segments
- Create a segment based on the trigger behavior (e.g., “Signed up via Lead Magnet Form A”)
- Add additional conditions if needed (e.g., contact rating, source, tags)
Pro tip: Use Mailchimp tags to categorize contacts by interest, lead source, or stage. This allows you to trigger different Mailchimp email automation workflows? based on granular behavior, not just list membership.
Step 2: Open the Customer Journey Builder
- Go to Automations ? Customer Journeys ? Create Journey
- Name your journey clearly (e.g., “Lead Magnet ? Nurture ? Discovery Call”)
- Choose a starting point (your trigger)
The Customer Journey Builder is visual and drag-and-drop. Each block you add can be categorized as a trigger, an action (such as sending an email, adding a tag, or updating a contact), or a rule (which includes if/else conditions or wait periods).
Step 3: Set Your Trigger
Triggers are the events that enroll a contact into your journey. Common options:
| Trigger | Best For |
| Joins audience | General welcome/nurture funnels |
| Subscribes to tag | Segment-specific funnels |
| Clicks a link in email | High-intent follow-up sequences |
| Activity-based (opens, no opens) | Re-engagement funnels |
| API or integration trigger | Booking confirmations, purchases |
Important: Set a filter on your trigger so contacts only enter the journey if they meet specific conditions. Without filters, you may accidentally enroll existing subscribers into a new-subscriber welcome sequence.
Step 4: Build Your Email Sequence
For each email in your sequence:
- Add an Email action block in the builder
- Write directly inside Mailchimp’s email editor, or import a pre-written template
- Assign a subject line, preview text, and from name
- Apply personalization merge tags: *|FNAME|* for first name, *|MMERGE3|* for custom fields
Writing guidance for each email stage:
- Email 1 (Welcome/Delivery): Be immediate and specific. Deliver exactly what you promised. Keep it short. The only CTA should be consuming the resource.
- Email 2 (Value/Education): Teach something concrete. One insight, one takeaway. No selling yet.
- Email 3 (Authority/Proof): Share a transformation story—a client result, a before/after case study. Be specific with numbers and outcomes.
- Email 4 (Bridge): Connect their problem to your solution. This is a soft pitch, framed around their situation.
- Email 5 (CTA): Make a clear, specific ask. Link to a booking page, offer a specific call type (e.g., “30-minute strategy session”), and reduce friction.
Step 5: Set Delays Strategically
Wait periods between emails are critical. Too fast feels pushy. Too slow loses momentum.
Recommended spacing for a nurture funnel:
- Email 1: Immediately on trigger
- Email 2: 1 day after Email 1
- Email 3: 2 days after Email 2
- Email 4: 3 days after Email 3
- Email 5: 2 days after Email 4
Inside the Customer Journey Builder, add a Wait step between each email block. You can specify days, hours, or even wait until a specific day of the week (e.g., send Email 3 only on Tuesday at 9 am for better open rates).
Step 6: Add Conditional Branches (The Step Most Consultants Skip)
Here is where Mailchimp automation workflow? becomes genuinely powerful. Conditional branches let you split the journey based on what a contact does—or doesn’t do.
Example: After Email 2, add an If/Else rule:
- If the contact clicked the link in Email 2 ? move them to the high-intent booking sequence
- If the contact did NOT click ? continue with the standard nurture path
This creates two parallel experiences from the same funnel, dramatically improving relevance.
Other useful branch conditions:
- Did/did not open the email
- Has/does not have a specific tag
- Contact field equals a specific value (e.g., industry, company size)
Step 7: Add Goal Steps and Exit Conditions
A Goal step ends the journey early when a contact achieves the desired outcome—typically making a booking or completing a purchase. It prevents them from receiving redundant emails after converting.
Set this up by:
- Adding a Goal block at any point in the journey
- Defining the goal condition (e.g., “Contact has tag: Booked Call”)
- Choosing what happens to contacts who reach the goal (typically: exit journey, add to new journey)
Step 8: Test Before Launch
Before going live:
- Use Mailchimp’s Preview Mode to check mobile and desktop rendering
- Send test emails to yourself to verify that merge tags populate correctly
- Walk through the journey manually using a test contact
- Check that all links work and lead to the correct pages
Only activate the journey after testing is complete. Once live, monitor performance weekly for the first month.
Email Funnel Strategy: What the Highest-Converting Consultants Do Differently?
Surface-level advice says “personalize your emails” and “use strong CTAs.” Here is what actually moves the needle.
Write Emails That Sound Like One Person Talking to One Person
Most consultant emails read like announcements. The highest-converting automated email sequences read like a direct message from a smart friend.
Techniques:
- Write in second person (“you”) throughout.
- Reference the specific lead magnet or action that enrolled them
- Use a conversational, un-corporate tone.
- Keep paragraphs to 2–3 lines maximum.
- Remove any language that sounds like it was written for 10,000 people.
Front-Load Value, Back-Load Asks
The moment you ask for something before you’ve given something, trust erodes. A strong email funnel strategy follows the principle of reciprocity: give substantially before you ask at all.
This means your first 2–3 emails should contain zero sales. No soft pitches, no “P.S. — check out my services.” Just value.
Use One CTA Per Email
Every email should have one clear action you want the reader to take. Two CTAs split attention, plus reduce click-through rates. Decide what matters most for each email and make that the only link (or the most visually dominant one).
Subject Lines That Get Opened
Open rates start with subject lines. Avoid generic consultant subject lines, such as “Your Free Guide Is Here” or “Tips For Growing Your Business.” Instead:
- Lead with curiosity: “The reason most consultants lose deals in the follow-up.”
- Lead with specificity: “3 automation setups I use for $20K+ clients”
- Lead with pattern interrupts: “I almost didn’t send this.”
- Ask a question that touches a real pain point: “Still chasing leads manually?”
Preview text is equally important—it appears directly below the subject line in most email clients. Write it as a continuation of the subject line hook, not a repetition of it.
Mailchimp Automation Workflow: Real-World Funnel Examples With Specifics
Example 1: The Lead Magnet to Discovery Call Funnel
Trigger: Contact subscribes via a “Free Consulting ROI Calculator” opt-in form
Sequence:
- Day 0 — “Your calculator is inside” — Delivers the lead magnet, sets expectations for the sequence.
- Day 1 — “One thing most people miss in ROI calculations” — Adds a bonus insight tied to the resource.
- Day 3 — “How [Client Name] used this to close a $180K project” — Specific case study with measurable outcome.
- Day 5 — “The part no calculator can measure” — Bridges from the tool to the human element of consulting decisions.
- Day 7 — “Open for 2 more strategy sessions this month” — Direct booking CTA with urgency framed around real capacity.
Conditional branch at Day 3: If they clicked the case study ? tag as “high-intent” ? move to accelerated booking sequence (3 emails over 4 days instead of waiting until Day 7)
Example 2: The Webinar Replay Funnel
Trigger: Contact registers for webinar OR watches replay
Sequence:
- Immediately — “Here’s the replay + timestamps” — Delivers replay link with key moments indexed.
- Day 1 — “The question I didn’t have time to answer” — Addresses the most common objection from live Q&A.
- Day 3 — “What to do with what you learned” — Bridges from webinar content to implementation and introduces your support.
- Day 5 — “Results from people who implemented this” — Social proof email.
- Day 7 — “Let’s map this out for your situation” — Discovery call CTA, framed as a customization session.
Example 3: The Referral + Reactivation Funnel
Trigger: Client completes engagement (tagged as “Engagement Complete”)
Sequence:
- Day 1 — Congratulations email + project summary highlight.
- Day 7 — Check-in email: “How are things going since we wrapped?”
- Day 14 — “Know someone who could use this?” — Referral ask with specific language they can forward.
- Day 30 — “New resource for [their industry]” — Value-add to maintain the relationship.
- Day 60 — “Still on your radar?” — Soft re-engagement asking about new challenges or projects.
Common Mistakes That Kill Mailchimp Email Automation Performance

Mistake 1: Using a No-Reply Sender Address
Nothing signals “this is a mass email” faster than noreply@yourdomain.com. Use a real name and a monitored inbox. When prospects reply, that’s a signal—and an opportunity.
Mistake 2: Not Warming Up Your Domain First
If you’re new to email marketing or switching email providers, sending high volumes immediately damages your sender reputation. Warm up by starting with small batches and increasing the volume gradually over 4–6 weeks.
Mistake 3: Ignoring Deliverability Setup
Before any Mailchimp automation workflow? goes live, verify:
- SPF record is configured for your domain
- DKIM is authenticated inside Mailchimp
- DMARC policy is set
- You’re sending from a custom domain, not a Gmail or Hotmail address
These technical settings determine whether your emails reach inboxes at all.
Mistake 4: Identical Sequences for Different Lead Sources
A lead who found you through a LinkedIn post has a different context than one who found you through a Google search. Develop distinct entry points and introductory emails for various sources, even if the main nurture sequence overlaps.
Mistake 5: Treating Mailchimp Workflow Automation as “Set It and Forget It”
Review your Mailchimp automation workflow? performance monthly. Check: open rates, click rates, unsubscribes per email, and conversion at each stage. A sequence that worked six months ago may need updating as your offer, audience, or market shifts.
Measuring Your Email Automation Funnel: What Actually Matters?
Most consultants track open rates and stop there. Here’s a more complete performance framework:
| Metric | What It Tells You | Benchmark (B2B) |
| Open Rate | Subject line and sender reputation health | 25–35% |
| Click-Through Rate | Email body and CTA effectiveness | 3–6% |
| Click-to-Open Rate | Content relevance to openers | 10–20% |
| Conversion Rate | How well the funnel moves toward the goal | Varies by offer |
| Unsubscribe Rate Per Email | Whether a specific email is off-target | <0.5% |
| Sequence Completion Rate | How many contacts finish the full funnel | Varies by length |
Inside Mailchimp, navigate to Reports ? Automation Reports to see performance broken down by individual journey steps. Identify the highest drop-off point—that’s your optimization priority.
Final Thoughts
Mailchimp workflow automation isn’t a shortcut—it’s infrastructure. When built correctly, it reflects the same expertise and professionalism you bring to your consulting work, and it runs continuously in the background while you focus on client delivery.
The consultants who see the best results from email automation funnels treat them as living systems. They write emails that sound human, segment based on real behavior, test and refine rather than deploy and ignore. And they design funnels around the specific journey their ideal client takes—not a generic template.
Start with one funnel. Build it properly. Measure it. Then expand.
Need help designing, writing, or technically setting up your Mailchimp automation workflows? At Directory One, we build custom email funnel strategies for consultants—from initial architecture to copywriting and performance tracking.
Call us: 713.269.3094 or visit: https://www.directoryone.com/.